Editing a Customer's Custom Policies
Policies determine what categories of website your customers have access to. In addition to the default policy that is assigned to a customer when they are added to the system, customers can also create their own custom policies within the customer interface.
Tip
To create a custom customer policy within the Service Provider interface, impersonate the customer and then add the policy. See Impersonating a Customer and refer to the WebTitan Cloud Customer Admin Guide for more information on using the customer admin interface to add a policy.
Go to Policies > Customer Policies and follow the steps below to view and edit custom policies created by your customers.

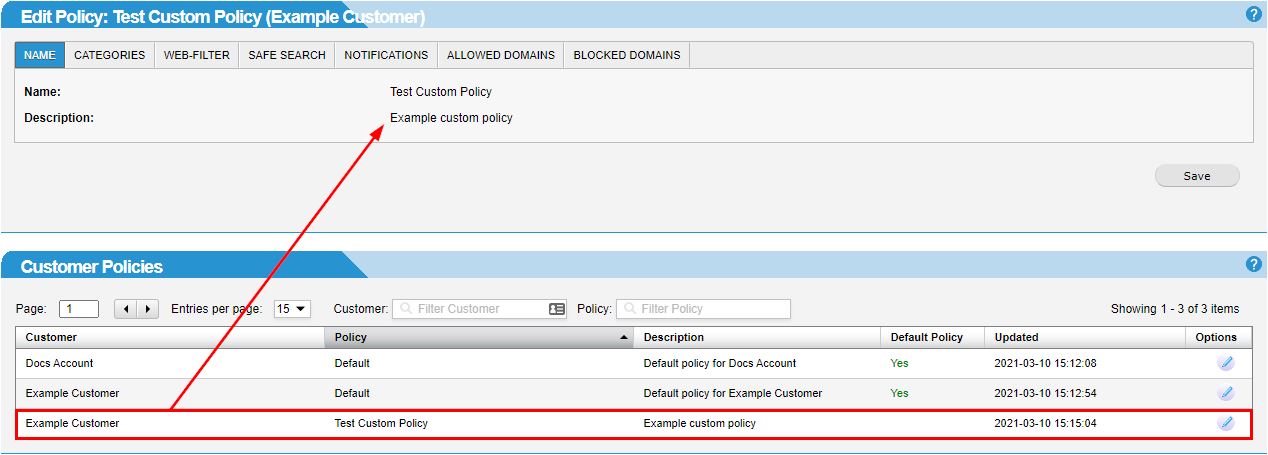
To edit a policy, click the edit
 icon in the Options column.
The Edit Policy: policy_name window displays at the top of the screen to allow you to edit the policy you are currently working on. The Policies window moves below the Edit Policy window and is displayed below, as shown:
Click on each of the available tabs to make changes to your policy - Categories, Web-Filter, Safe Search, Notifications. Click the links below for more information on what is configured in each tab:
Once finished editing, click Save to save changes to the policy.