Downloading and Installing DNS Proxy
The minimum system requirements for DNS Proxy are:
2 CPU core
2GB RAM
20GB disk space
Follow the steps below to download and install DNS Proxy.
Click here to download the DNS Proxy ISO image (DnsProxy.iso). The current version of DNS Proxy is 3.01.
Using your preferred VM software, install the DNS Proxy ISO (DnsProxy.iso) selecting FreeBSD (64bit) as the OS. Alternatively, you can install directly on hardware which must be FreeBSD compliant.
Once you run DnsProxy.iso, the following window displays:
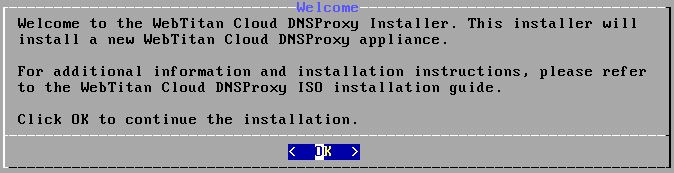
Press Enter to choose OK.
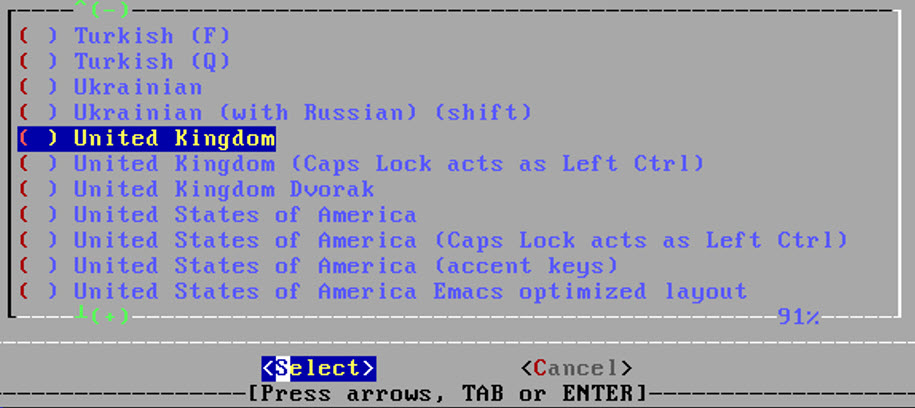
In the Keymap Selection window, select United Kingdomand press Enter to Select.
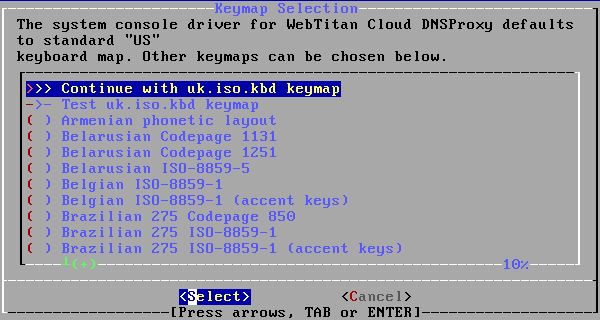
In the Keymap Section window, select Continue with uk.iso.kbd keymap and press Enter to choose Select.
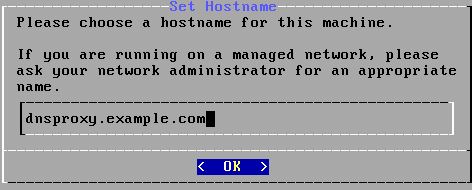
In the Set Hostname window, enter the hostname to be assigned to the newly installed appliance. The hostname should be a fully-qualified hostname. Press Enter to select OK.
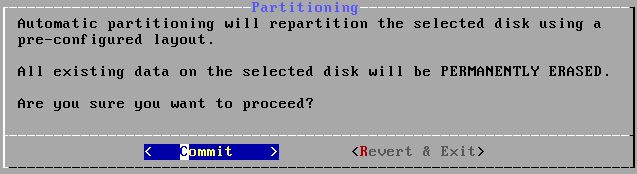
DNS Proxy automatically partitions the disk. In the Partitioning window, press Enter to select Commit and allow the installation to run.
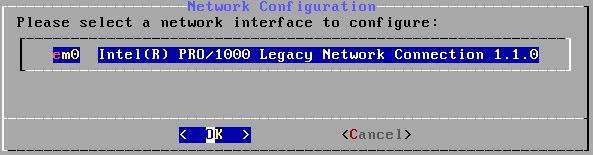
A list of all network interfaces found on the computer is shown in the Network Configuration window. Select one to be configured and press Enter to select OK.
The application must be configured with a static IP address. Enter the following information in the Network Configuration window:
IP Address: The IPv4 address to be assigned to this computer. This IP must be unique and not already in use elsewhere on the local network.
Tip
Use the keyboard up
 arrow and down
  arrow to move between fields.
Subnet Mask: The subnet mask used for the local network. This is usually 255.255.255.0
Default Router: The IP address of the default router/gateway on this network.
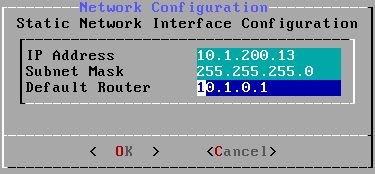
Press Enter to select OK.
The DNS resolver converts hostnames to and from network addresses. At least one DNS server is required.
Search: Enter your local network's domain name.
IPv4 DNS #1: Address for your local DNS server.
IPv4 DNS #2: Address for your local DNS server.
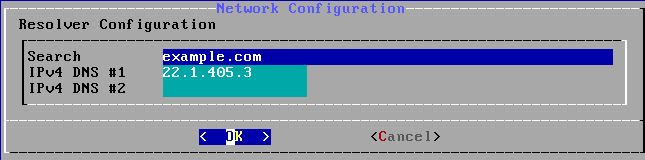
Press Enter to select OK.
The 'Select local or UTC (Greenwich Mean Time) clock' window allows you to set your time zone. Setting the time zone allows the application to automatically correct for any regional time changes and perform other time zone related functions properly.
If you don't know whether your system uses UTC or local time, select No to choose your local region and country.
In the Time & Date window confirm your system Month, Year and Date.
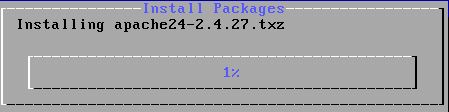
Allow the installer to install packages.
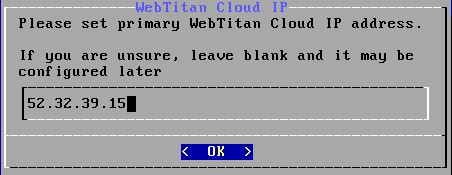
If prompted, enter your WebTitan Cloud IP and press Enter to select OK.
When installation is complete, the Complete window displays. If applicable, remove the installation media or the machine will boot from it again. Press Enter to select Reboot.
After reboot, use the displayed URL to access DNS Proxy and complete the configuration and application setup.