Static Routes
Go to System Setup > Network > Static Routes to see details of any static routes that have been defined for your WebTitan Cloud.
Note
If you have complex routing requirements, you may need to manipulate network routing tables by adding static routes. However, static routes are generally not required.
Follow these steps to add a static route:
Click Add and the Static Route window displays:
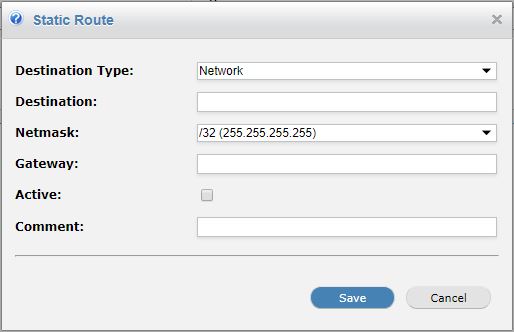
Using the table below as reference, complete the Static Route window.
Field
Description
Destination type:
Select if the static route is for a Network subnet or a Host address.
Destination:
IP address of a host or network located outside the subnet of the WebTitan Cloud appliance, to which data can be routed.
Mask:
The subnet mask for the destination host or network.
Gateway:
The IP address of the next hop intermediary that can be used to reach the destination host or network.
Active:
Check to indicate this static route is active.
Comment:
Enter your comments on this static route.
Click Save to save this static route or Cancel to close and discard changes.