What You Need to Know Before Installing OTG for Chromebooks
Important
It is important to understand this information before installing WebTitan OTG for Chromebooks.
To install OTG for Chromebooks, you must first contact TitanHQ Support and provide your Google Admin Customer ID. This allows us to make the WebTitan Chromebook OTG app available in your Google Workspace. See Locating your Google Admin Customer ID.
As of June, 2023 the WebTitan OTG for Chromebooks app available from the Google Play Store is named "WebTitan Chromebook OTG". If you deployed OTG for Chromebooks prior to June 2023, you deployed an app named "WebTitan OTG". Both apps have the same functionality, they only differ in name.
If you deployed the WebTitan OTG app prior to June 2023, please read the following:
If you added the "WebTitan OTG" app to an Organizational Unit (OU) and now want to add additional devices to that same OU, the "WebTitan OTG" app will continue to be pushed out to those devices.
If you create a new Organizational Unit (OU), and that OU is not inheriting from a parent OU where the "WebTitan OTG" app was deployed, you must follow this guide to deploy the new "WebTitan Chromebook OTG" app to the new OU.
Both apps can not coexist in the same Organizational Unit (OU). Therefore, if you wish to deploy the "WebTitan Chromebook OTG" app to an OU that already has the "WebTitan OTG" app, you must first remove the "WebTitan OTG" app.
Before installing, check that your device is listed on OTG Chromebook Supported Models.
A single installation of WebTitan OTG for Chromebooks creates the following on your WebTitan Cloud:
a device in Settings > Devices that represents the client machine that OTG is installed on, e.g. user's Chromebook or laptop. A device is any entity that can be configured to send DNS requests to WebTitan Cloud for filtering per your policies.
a virtual location in Settings > Locations > Virtual.
a user in the Users tab based on the username on the machine, e.g. user@Chromebook.
Before installation, you can edit the global device configuration in WebTitan Cloud to specify a policy that is assigned at installation. This is useful if you want to apply a particular policy you have created to a set of users, such as students or teachers.
Example: You are rolling WebTitan OTG for Chromebooks out to students and teachers and want to apply a different policy to each group.
In this case, change the policy in the global device configuration to your student policy, e.g. OTG-student-policy, and then carry out the installation for your students. Once installation is complete and you have verified the users (students) have been added to WebTitan Cloud, change the policy in the global device configuration to your teacher policy, e.g. OTG-teacher-policy, and carry out the installation for your teaching staff.
See Selecting a Policy to Assign to New Devices.
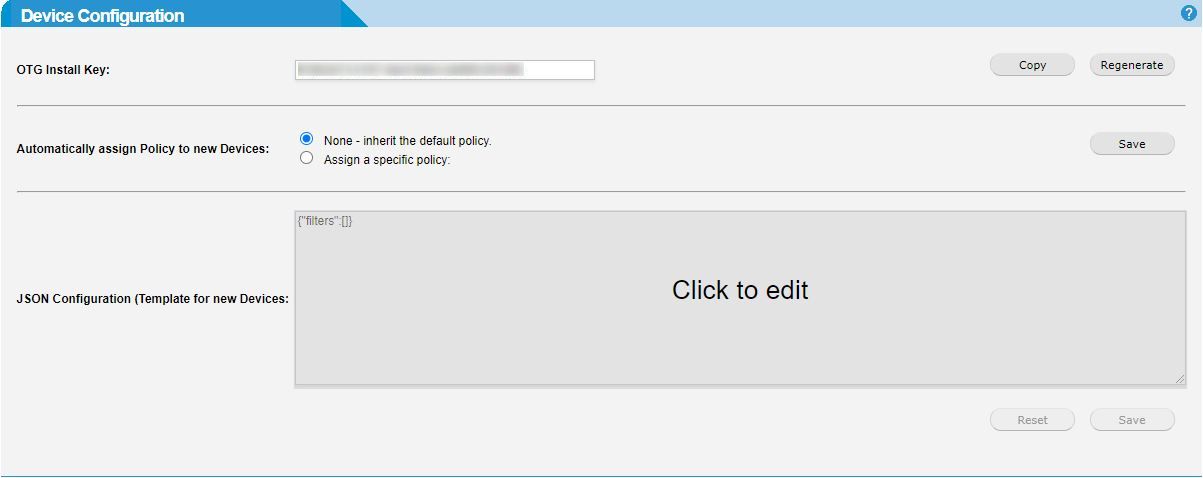
Before installation, you can edit the global device configuration template in WebTitan Cloud. See Editing the Global Device Configuration Template.
WebTitan OTG for Chromebooks also allows you to edit a device's configuration in WebTitan Cloud after installation. This can be done globally for all devices on your WebTitan Cloud, or individually for a single device. See Managing OTG Chromebook Devices on WebTitan Cloud.
When serving a block page, WebTitan Cloud determines the requesting customer’s details via an IP mapping done over HTTP/S, with no reference to the original UDP DNS request. When virtual locations are used (as with OTG), there is no such direct mapping and the default block page at the WebTitan Cloud admin level is returned, providing generic block page information rather than specific per-customer information. Therefore, if using OTG, it is recommended to keep your WebTitan Cloud admin-level block page as generic as possible.