Deploying OTG for Chromebooks
Important
To install OTG for Chromebooks, you must first contact TitanHQ Support and provide your Google Admin Customer ID. This allows us to make the WebTitan Chromebook OTG app available in your Google Workspace. See Locating your Google Admin Customer ID.
Ensure you have read these topics before installing WebTitan OTG for Chromebooks:
Then, follow the steps below to deploy OTG for Chromebooks using Google Workspace. As a best practice, always test your deployment using a limited test group with just one or two users first before full deployment.
Log into your Google Workspace account with administrative access.
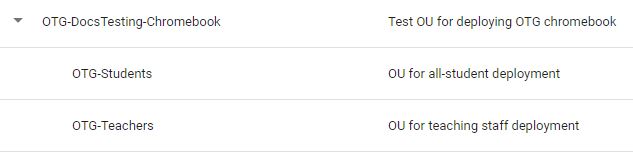
From the main menu, go to Directory > Organizational units and ensure you have created the organizational unit (OU), or units, to which you are deploying OTG for Chromebooks. The example here shows two OUs - one for deploying to all students and one for teaching staff:
For more information on how the organizational structure work in Google Workspace, see https://support.google.com/a/answer/4352075
 .
.Upload the .pem WebTitan certificate to Google Workspace. See Importing a WebTitan TLS Root Certificate in Google Workspace.
Follow these steps to add the WebTitan Chromebook OTG app to the OU from the Google Play Store:
Note
An app and its settings are applied to the users in the current selected organizational unit. This means if a user logs into a personal device with the same username, WebTitan filtering will be applied to them on this personal device.
From the main menu go to Devices > Chrome > Apps & Extensions > Users & Browsers.
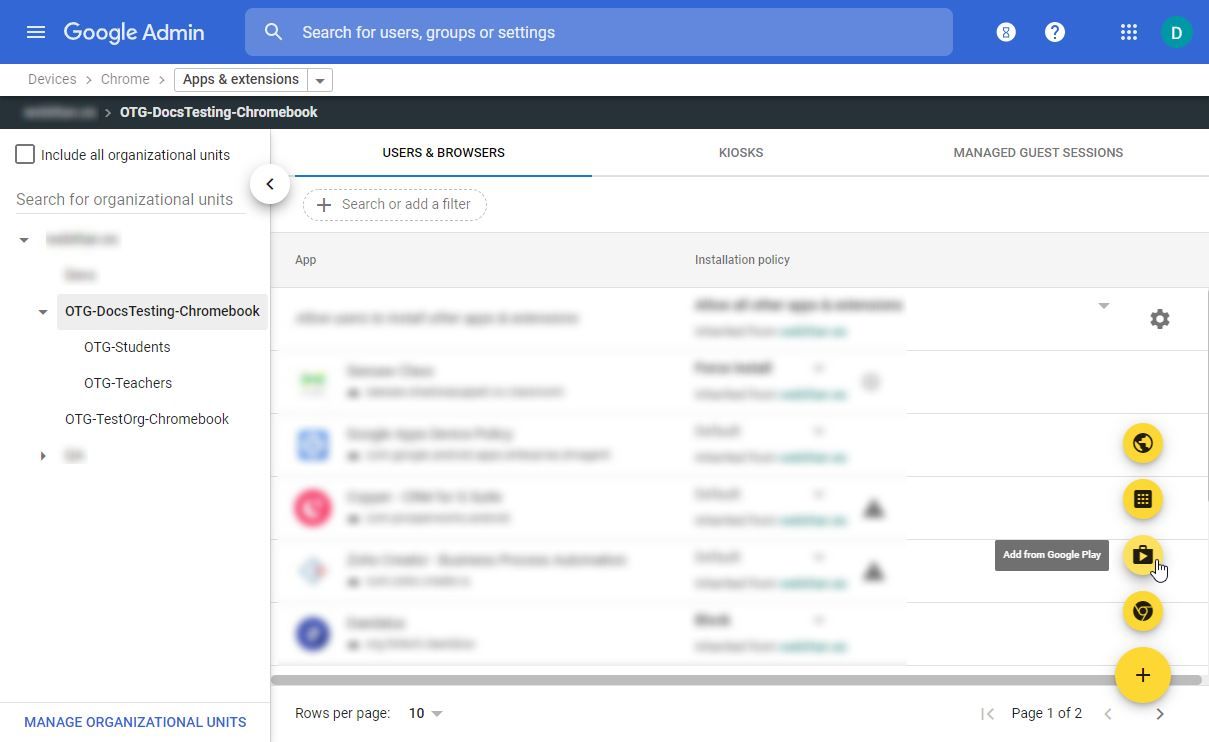
In the left pane, select the OU you want this app to be available to (a child OU inherits access to apps from its parent OU).
Click
 in the bottom right of the screen and select the Add from Google play
  button.
Search the Google PlayStore for "WebTitan Chromebook OTG" (public app). When searching, include double quotes as shown:

Select the app.

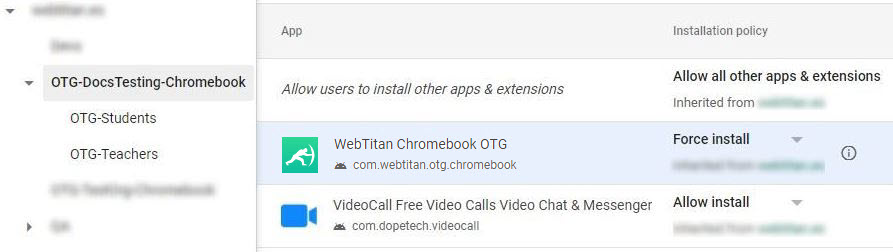
Click Select to add the WebTitan Chromebook OTG app to the list of apps available to your OU.
Click on the WebTitan Chromebook OTG app to add the app configuration:
To the right of the app, enter this JSON configuration but with the parameters below edited with your WebTitan Cloud details:
{"install_key": "00000z0z-0zz0-0000-zz0z-0zz000z0zz0z","rpc_url": "https://mycloud.webtitancloud.com:7771"}install_key:This is your OTG install key and is used to register an OTG device on your WebTitan Cloud. You can get this in your WebTitan Cloud from Settings > Account > OTG Install Key.rpc_url:The URL of your WebTitan Cloud instance. The RPC port is always port 7771 and is automatically added if not included in the RPC_URL parameter. The following formats are accepted:mycloud.webtitancloud.commycloud.webtitancloud.com:7771https://mycloud.webtitancloud.comhttps://mycloud.webtitancloud.com:7771https://mycloud.webtitancloud.com:7771/
There are also a number of optional parameters you can use during installation. See OTG for Chromebooks Installation Parameters.
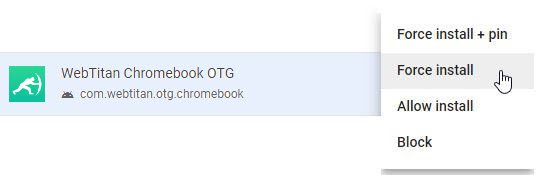
Click the down arrow to the right of the WebTitan Chromebook OTG app and select Force install. Click Save in the top right of the screen to save this setting.
Go to Devices > Chrome > Settings > Users & browsers. Ensure you have the correct OU selected, then edit the three settings below.
Tip
Quickly locate a setting by typing the exact setting name into the Search or add a filter field.

Always on VPN: Select the WebTitan Chromebook OTG app here and ensure Do not allow users to disconnect from a VPN manually is selected.
DNS-over-HTTPS: Set the mode to Disable DNS-over-HTTPS.
Built-in DNS client: Set to Never use the built-in DNS client.
Once deployed, the best way to validate rollout is to check that all devices and associated users have been added to WebTitan.