Adding a Virtual Customer Location
Virtual locations use a tag to identify a location rather than an IP address. DNS requests can contain a metadata tag which is compared to known locations. To use the virtual location functionality, your router or endpoint will need to add the metadata in the form of an EDNS record.
To add a virtual location:
Go to Customer Settings > Locations > Virtual. Click Add and the following window displays:
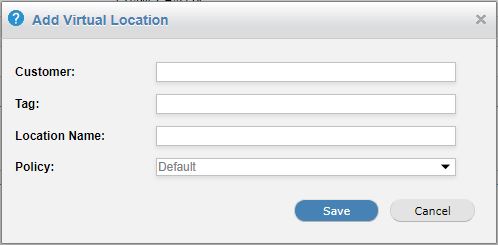
Enter an existing customer name in the Customer: field. The field will auto-populate as you type.
In the Tag: field, assign a tag for this location, e.g. campus_0123.
In the Location Name: field, assign a name to this location, e.g. Engineering Campus.
By default, the default customer policy is assigned to all new customer locations.
A customer admin can go to Settings > Locations within the Customer Admin interface to change this to a different policy, or a service provider admin can impersonate a customer within the Service Provider interface. See Impersonating a Customer.
Click Save.