Configuring DNS Proxy
Once you have installed DNS Proxy, follow the steps below to log in and configure your DNS Proxy. TitanHQ Product Docs - WebTitan Cloud.
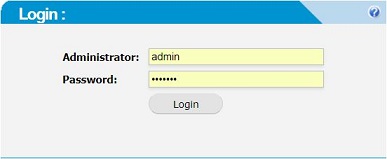
Open a browser and go to the IP address assigned to DNS Proxy during installation.
Enter the default login details:
Administrator: admin
Password: hiadmin
Tip
Once logged in, click the Change Password tab to change the default password.
Edit your DNS Settings to connect to WebTitan Cloud:
Go to Configuration > Network > DNS SETTINGS.
In the WebTitan Cloud IP: field enter the IP address of your WebTitan Cloud:
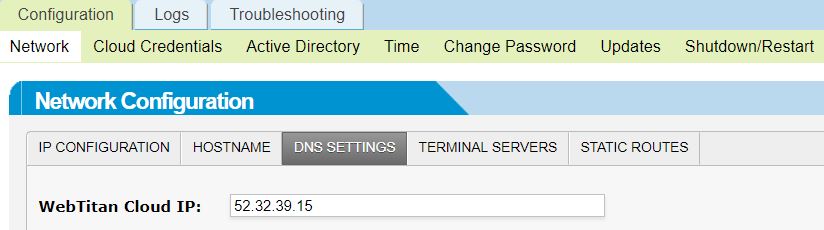
Click Save.
If you have internal domains that you want to redirect to an internal DNS server, follow these steps:
Go to Configuration > Network > DNS SETTINGS.
In the Exceptions: section click Add.
In the Add Domain window, enter details of the domain you want to redirect:
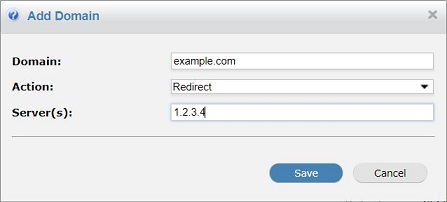
Click Save.
Repeat steps 1-4 to enter all domains you wish to redirect or drop. All other requests will be forwarded to WebTitan Cloud for resolution.
Edit your WebTitan Cloud credentials:
Go to Configuration > Cloud Credentials.
Enter the email address and password for your WebTitan Cloud account.
Click Save.
Create the sync to your Active Directory:
Go to Configuration > Active Directory > Active Directory Servers.
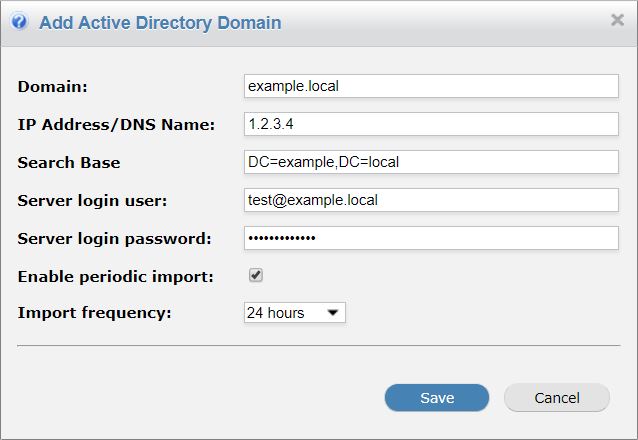
Click Add and the Add Active Directory Domain window displays.
Use this table below as a reference and complete the Add Active Directory Domain window:
Field
Description
Domain:
your Active Directory domain.
IP Address/Domain Name:
IP address or fully qualified domain name of your active directory server
Search Base:
The base entry distinguished name (DN) as configured on the LDAP server. The base entry serves as the starting point of the LDAP directory search. For example, dc=rainbowx,dc=net
This field auto populates. Type DN and select the first entry.
Server login user:
Username for your LDAP server (£ is not permitted in the username).
Server login password:
Password for your LDAP server (£ is not permitted in the password).
Enable periodic import:
Select to enable periodic imports of users from your LDAP server.
Import frequency:
If you selected 'Enable periodic import', use this drop-down to select the frequency you want to receive imports from your LDAP server.
Click Save and your server should now appear under Active Directory Servers.
To import your users and groups to DNS Proxy, click the check box
 to the left of your server listing:
Click Import Users.
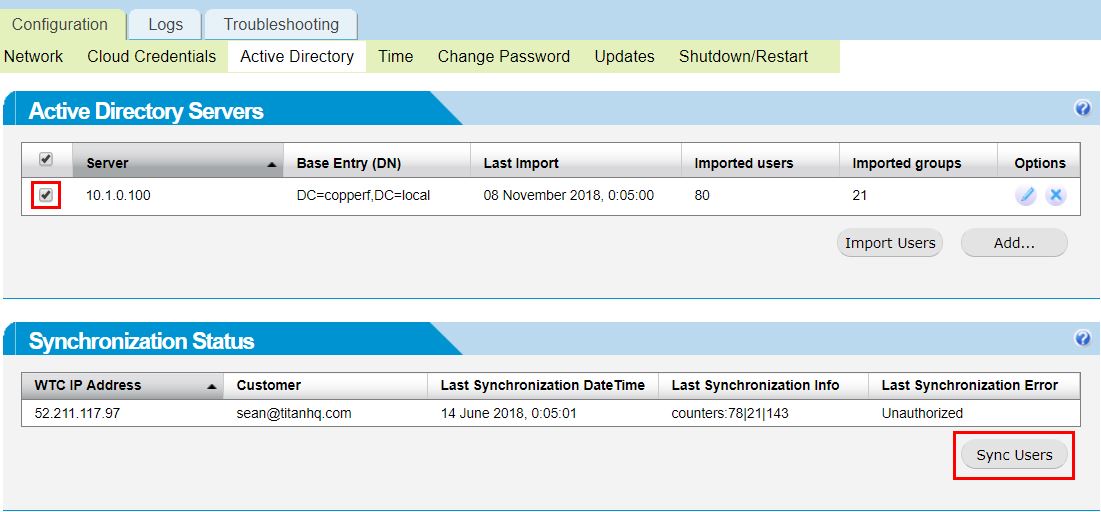
To sync your users and groups to your WebTitan Cloud interface, click the check box
to the left of your server listing again.Click Sync Users.
Once you have imported your users, you can verify the sync with Active Directory was successful by logging into your WebTitan Cloud account and checking the Users and Groups tabs to see if they have been populated with the expected information.