Installing and Deploying PhishHuk
Follow these instructions to add PhishHuk to your Microsoft Outlook ribbon.
Sign in to your Office 365 admin
 account.
In the left panel, select Show all to expand the menu options. Then select Settings > Integrated Apps.
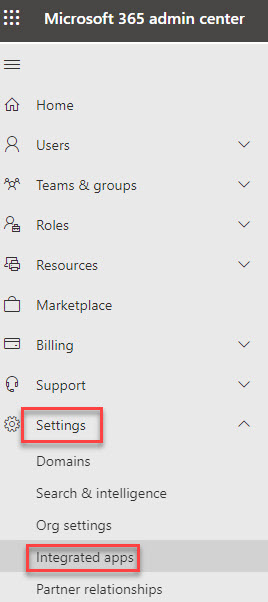
In the window that opens, select Upload custom apps.
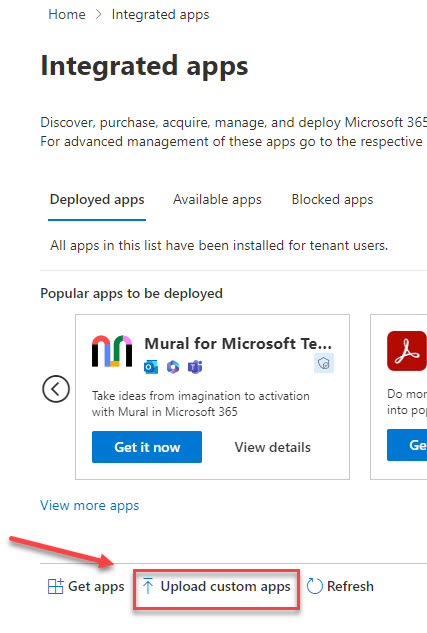
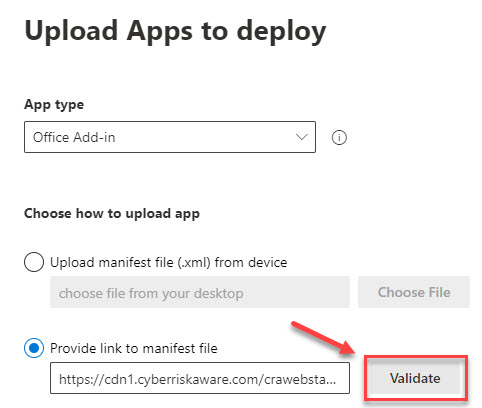
In the Upload Apps to deploy window, do the following:
In the dropdown window for App type, select Office Add-in.
Choose the Provide link to manifest file option, and insert the following URL:
https://cdn1.cyberriskaware.com/crawebstatix/release/PhishHuk_Addin_Web.xml
Select Validate.
The window will display the messages "Uploading and validating", and then "Manifest file validated".
Select Next.
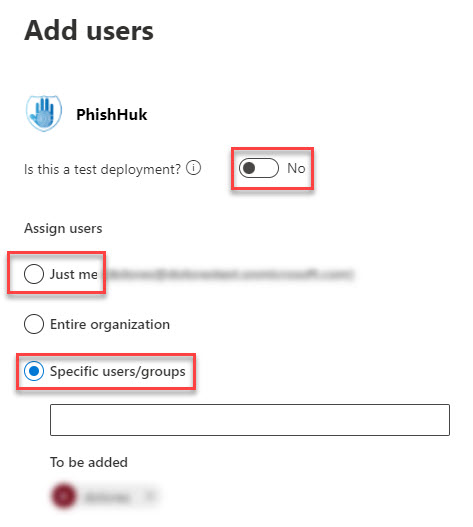
In the Add Users window:
Ensure that the Is this a test deployment ? dialogue is set to No.
In the Assign Users section, it is recommended that you first deploy using either the Just me or Specific users/groups options. In this way you can verify that the deployment is successful, and that the PhishHuk button works as expected before deploying to the entire organization.
Once testing is completed, you can come back to the Add Users window and select Entire Organization, which is explained in Steps 9-12.
Select Next.
In the Accept permissions requests window, select Next.
When you have reviewed your selected settings, select Finish deployment.
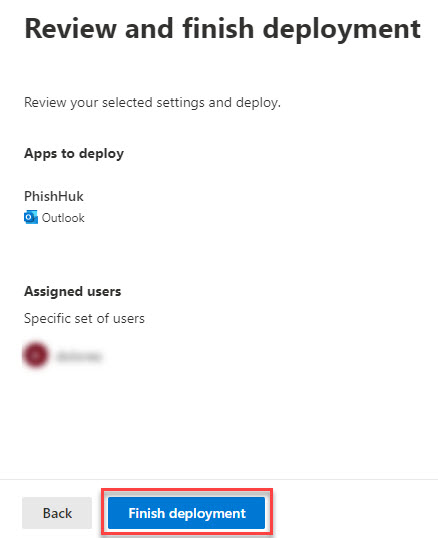
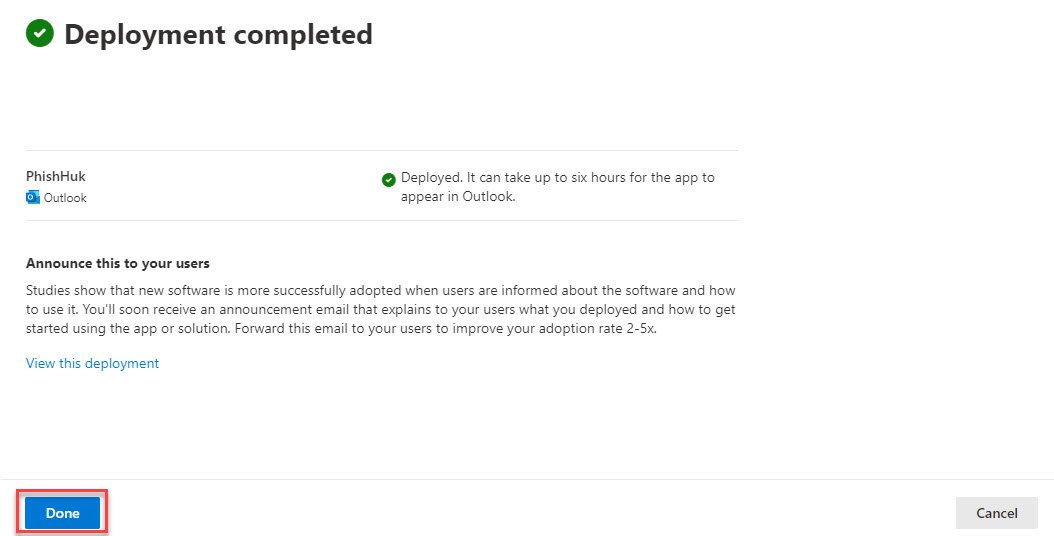
You'll see a sequence of messages: "Initializing deployment", "Deployment in progress" and "Deployment completed".
Select Done. Note that it can take up to six hours for the app to appear in Outlook / Outlook Web Access (OWA).
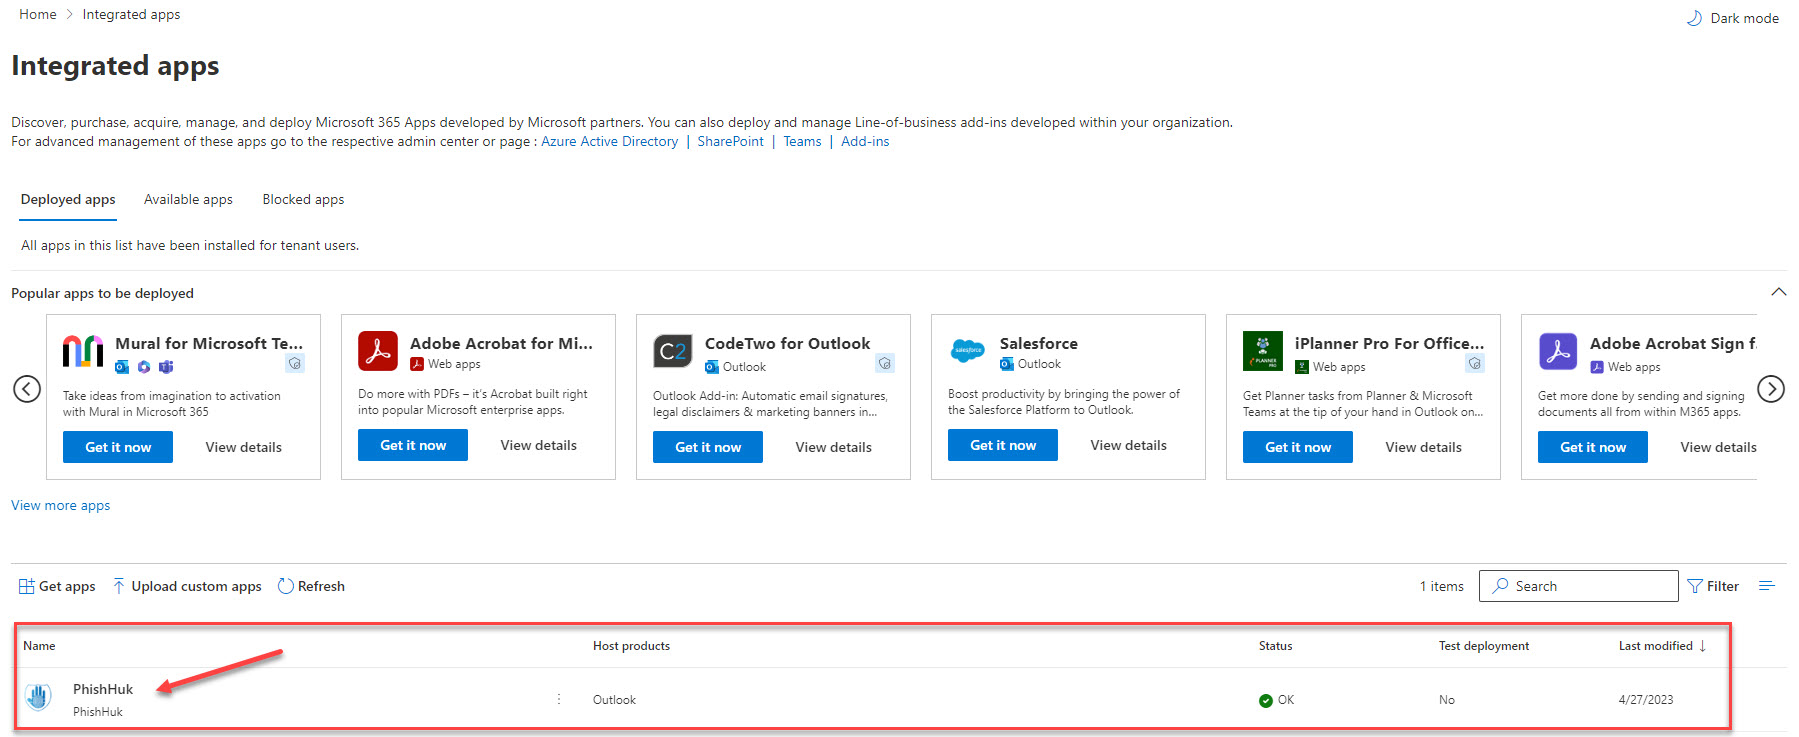
If you are satisfied that PhishHuk was deployed successfully, you can now deploy it to the entire organization. Go to Settings > Integrated Apps and select PhishHuk.
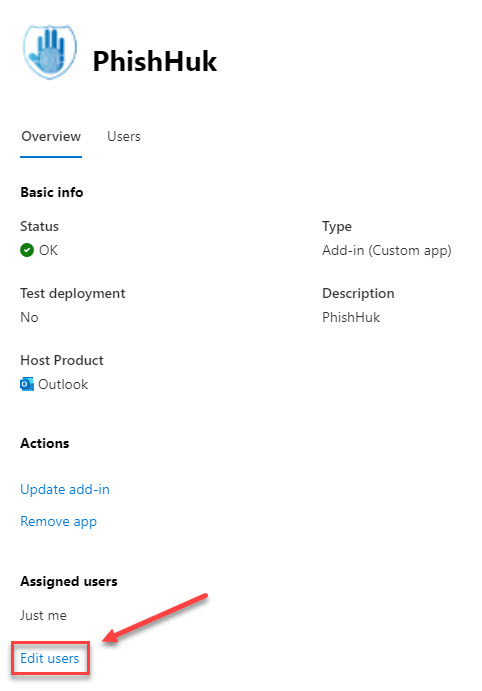
Select Edit Users.
In the window that opens, select Entire Organization, and then Update.
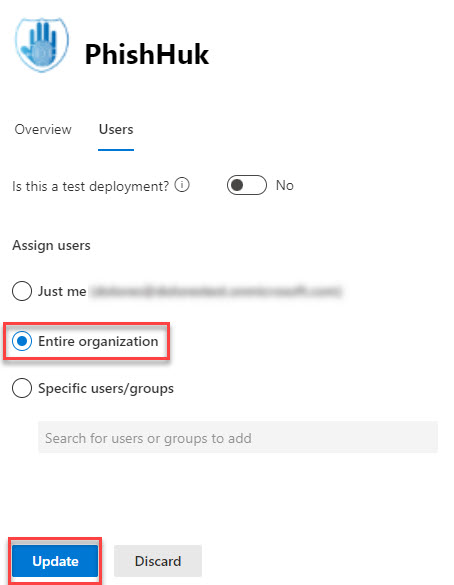
In the Updating users completed window, select Done. You'll see that that Entire organization is now selected.