Installing Orchestration Manager
The package for installing the Orchestration Manager can be downloaded from your SafeTitan portal as described below.
In your SafeTitan portal, select Real-Time integrations > Orchestrator Settings from the menu on the left.
Select Generate Orchestration Package in the upper left corner to download a new Orchestration Manager package.

The OrchestrationManager.zip file will begin downloading, which contains the package needed to install the Orchestration Manager. A new entry will be added to the Orchestrator List grid. This will be the generated default configuration for the Orchestrator that you will be installing.

Extract the contents of the OrchestrationManager.zip file to the folder you created when you Set Up the Orchestration Management Site.
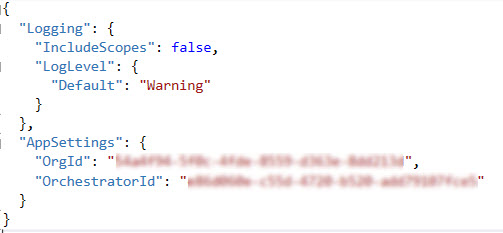
Next, you need to update the config file (appsettings.json) which is included in the Orchestration Managers installation folder. The appsettings.json file requires two properties populated.
OrgId: This is a unique identifier for the Organisation. This can be found to the right of the Generate Orchestration Package button, labeled Global Organisation ID.

OrchestratorId: This is the unique identifier for the Orchestrator you are installing. This value is displayed in the grid directly after clicking the button to generate the Orchestration package.

The resulting config file should appear similar to the following:
Select Save to save changes to the config file, which completes the installation of the Orchestration Manager.
Go to the site you created to see the Management Portal's web interface. You'll need to configure the Orchestration Manager and install Orchestrator in order for the Orchestrator site to begin running.