Enter Campaign Details
The second step in creating a phishing campaign is to enter the campaign details.
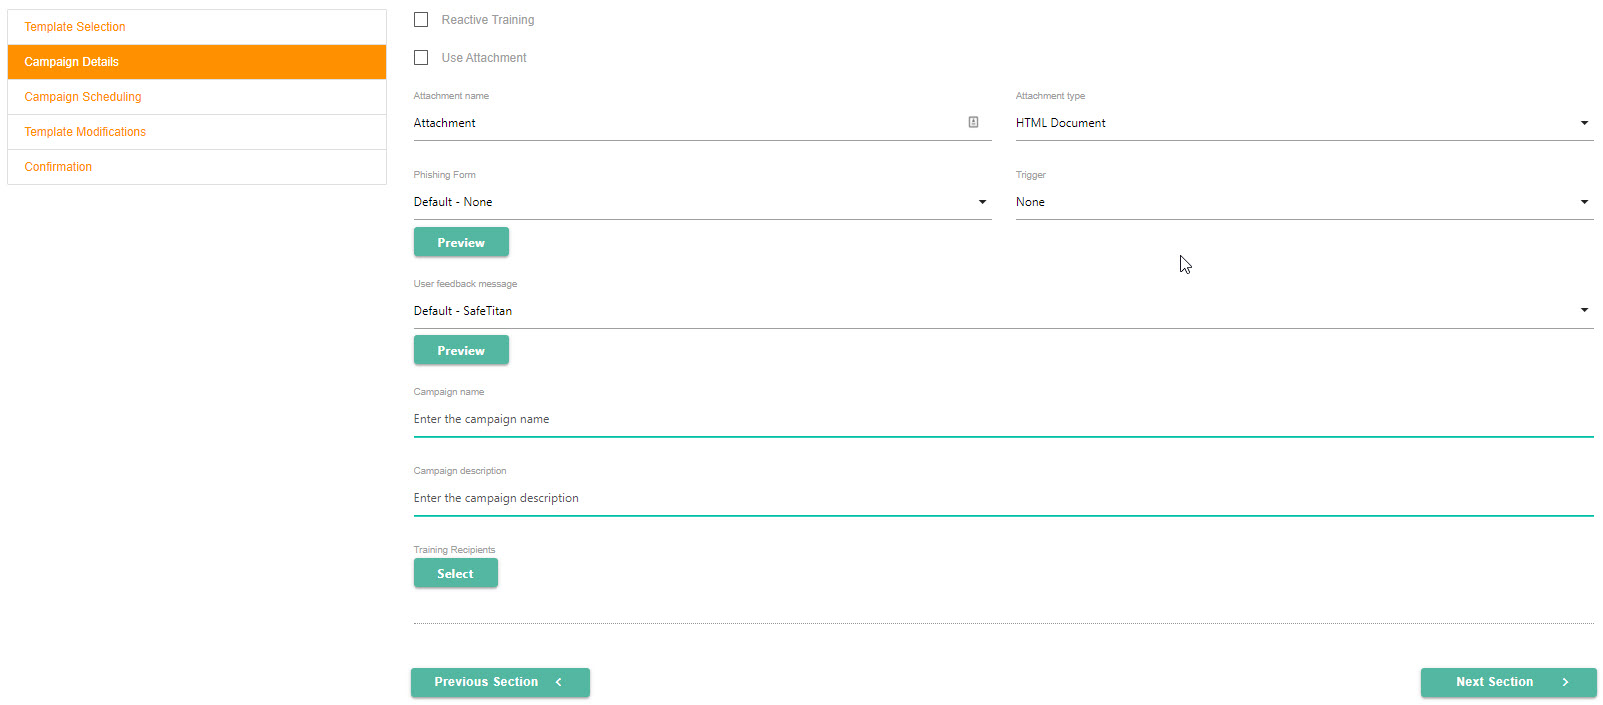
To enable Reactive Training for your campaign, select Reactive Training. Phishing campaigns with reactive training provide the ability to identify and evaluate high-risk users and automatically enroll these users in phishing awareness training. if you select Reactive Training, then you'll set that up in the next section.
If you want to include an attachment in your email, select Use Attachment, and then select the download icon in the Attachment name field to attach it.
In the Attachment type field, select HTML, Word or Excel to identify the file type.
Select the phishing form you want the user to see in the Phishing Form field. Select Preview to see the content.
The Trigger field displays a range of actions that a user could take on a phishing form. Based on the option you select, the user receives a warning message after performing that action, as described below:
None: If you want to track a user's actions without sending them a warning message, select this option.
Enters Field: User clicks in either the User Name or Password field in the phishing form, which triggers the warning message.
Types in Field: Select this option if you want the user to get a warning message when they attempt to enter information in any of the phishing form fields.
Posts Form: User completes form and attempts to submit it, triggering the warning message.
In the User Feedback Message field, you can select the message that you want the user to see when they click on an embedded phishing email link or open a phishing attachment. Select Preview to display the message.
Enter a Campaign Name to identify the campaign.
Enter a Campaign Description that provides details to help you recall when and why you created the campaign.
To add Training recipients, click Select. In the window that opens, you can select the customers you created in Create New Customer. If you have created Customer Groups, you can also select those.
If you have a large number of recipients, you can use both the sort and search functionality:
Select the column titles to sort the contents in ascending or descending order.
Enter a word in the Search field to filter results with that word.
Select Confirm when you are finished.
Select Next Section.