Setting Up Permissions for PhishHuk
There are four sequences of steps you must follow to set up permission for the PhishHuk application between Microsoft 0365 and your SafeTitan portal. These steps are explained below in the following order:
Follow the steps below to register the PhishHuk application in your Microsoft Azure App Registration portal.
First, navigate to your Azure portal
 .
.Open Azure Active Directory, by selecting it on the left in the Navigation pane, or here.
Select App registrations > New registration.
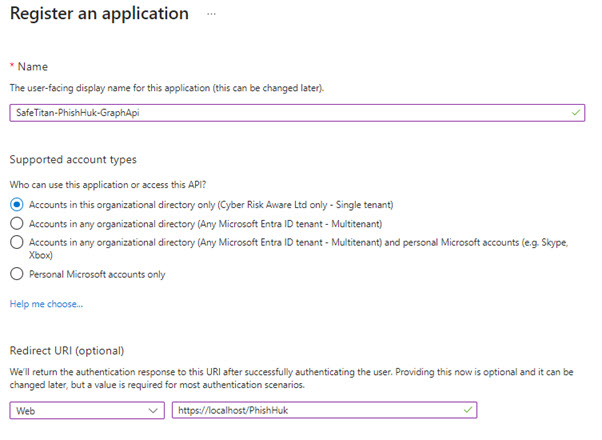
In the Register an application window that opens, complete the following sections:
Name: Enter an identifiable name, such as: SafeTitan-PhishHuk-GraphApi.
Supported Account Types: Use the Default option, which is Accounts in this organizational directory only (Cyber Risk Aware Ltd only - Single Tenant).
Redirect URL (optional): Select Web from the dropdown menu, and then enter https://localhost/PhishHuk in the next field.
Note
Note that entering information here is optional but a value is required for authentication purposes. The Redirect URL can be changed later.
The steps below explain how to create an Application Secret. Your SafeTitan instance will use this value to prove its identity when connecting to Azure.
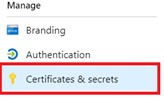
Select the Certificates & secrets tab.
On the next screen, select New client secret and add a description.
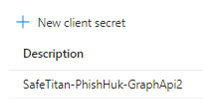
Select an expiration date and then select Add to create the client.
Once you've created the client, take note of the Client Secret Value, as you will need this when you configure permissions in the SafeTitan Portal.
Configure the permissions required by SafeTitan as follows:
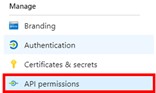
From your Azure portal, select API permissions and then Add a Permission.
In the dialog that appears, select Microsoft APIs and then Microsoft Graph.
Under API Permissions add the following permissions:
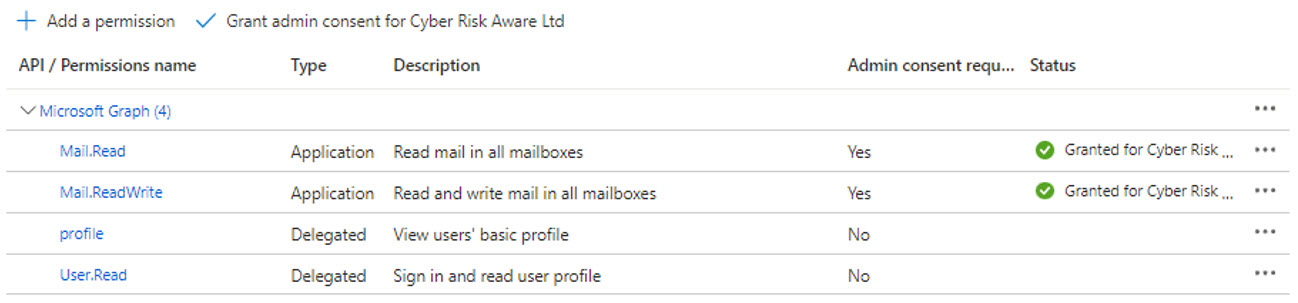
Select Grant Admin Consent for permissions that require it.
Configure permission in the SafeTitan portal as follows:
In your SafeTitan portal, go to your PhishHuk menu and in the window that opens, select Settings > Graph API.
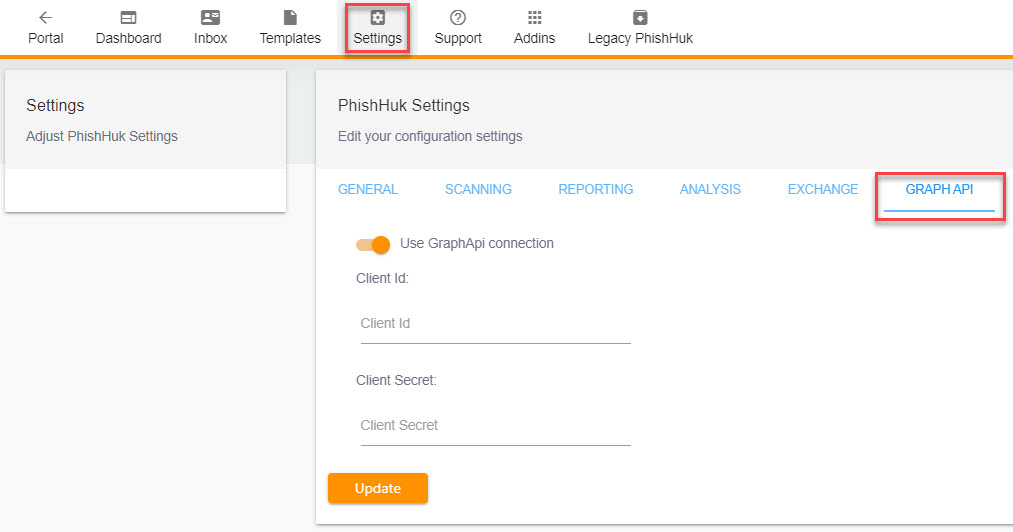
Using the toggle, turn on Use Graph API Connection.
Enter your Client ID value and your Client Secret in the appropriate fields. (Note that in Azure the Client Secret is referred to as Secret Value.)
Select Update.
The Microsoft Outlook Add-in for PhishHuk will automatically be updated to use the Graph API, following completion of these steps.