SpamTitan Private Cloud Quick Start Setup
Follow the quick start steps below to get your customers up and running on SpamTitan Private Cloud. To complete these steps you will need the following, which were sent to you by email on setup:
Your TitanHQ Partner Portal login credentials.
Important
The password reset link you received by email expires after 48 hours. Please reset your password within this time period.
Your SpamTitan Private Cloud server IPs.
STEP 1
Create an A-record for your SpamTitan Private Cloud login IPs.
Email the A-record verification details with the subject line "PAX8 Partner PTR Request" to pax8sales@titanhq.com and cc: provisioning@pax8.com.
Wait for verification that your PTR has been created before changing MX records, as outlined below.
STEP 2
Log into the TitanHQ Partner Portal.
Click Manage under SpamTitan Cloud.
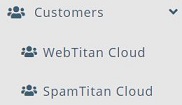
From the sidebar menu, go to Customers > SpamTitan Cloud.

The SpamTitan Cloud Customers table displays. Click Add... to add a new customer.
Using the Customer Account Settings table below as a reference, complete the fields in the Create stc-customer window.
Click Submit to create the customer account or Close to close the window and discard changes.
Click the impersonate
 icon in the Options column to the right of the customer you just created.
From the sidebar menu, go to SpamTitan Cloud > Anti-Spam Engine.
Add your Domains:
Click Add... in the Domain Management table to add a domain you want to be filtered. Complete the fields in the Create Domain window. See Add your Domain(s).
Click Submit to save this domain.
Repeat Step 9 to add multiple domains for the customer you are currently impersonating.
Enable Quarantine Reports for your Domains:
Click the edit
 icon in the Options column to the right of the domain in the Domain Management table.
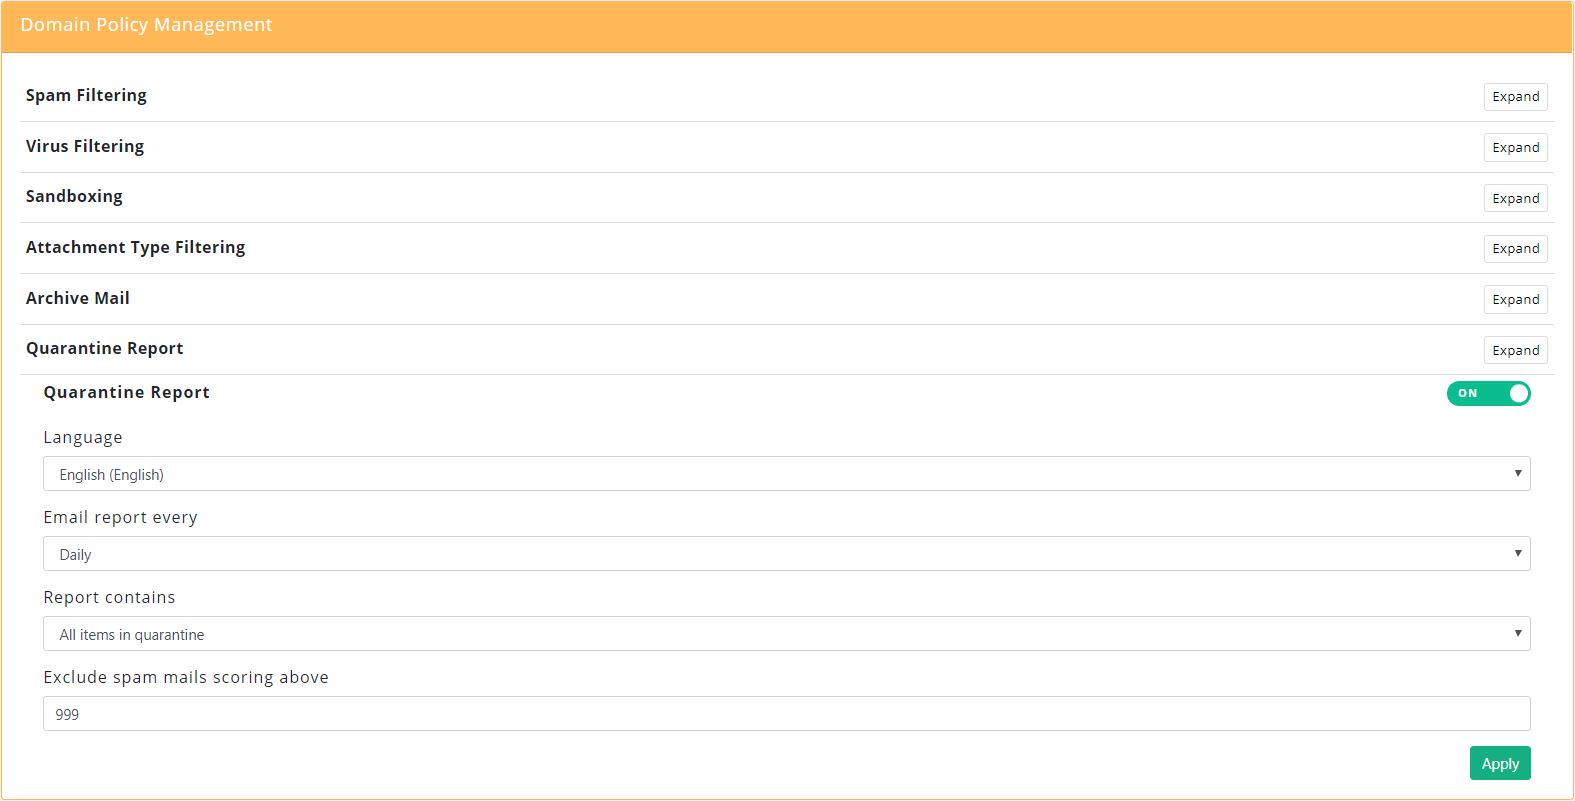
In the Domain Policy Management table, click Expand beside Quarantine Report and move the slider to ON.
Click Apply to save changes.

Redirect the MX record(s) for your on-boarded domain(s) to point to SpamTitan Cloud by setting your MX-record to the A-records created in STEP 1.
From the sidebar menu, click Stop Impersonating to finish impersonating this customer and return to your partner portal view.
New Customer Account Settings
Field | Description |
|---|---|
STC/WTC Instance | Default is your SpamTitan Private Cloud or WebTitan Cloud. If you have multiple instances, they will be listed here. |
Customer Name: | Name of the customer account, e.g. Example Coffee Company. |
Email: | The email address associated with this account, e.g. admin@example.com. This is the email address a customer admin will use to log into their TitanHQ Portal. |
Description: | A brief description of the account. This is a useful field for filtering and searching. This field is visible to the customer. |
License: | A license string you can assign to this customer for your own reference, e.g. customer reference number. This field is not visible in the customer UI. |
Password: | This is the password a customer admin uses to log into their TitanHQ Portal. Passwords must be a minimum of six characters. |
Timezone: | The time zone associated with this account. The correct time timezone ensures that Dashboard, History and Reporting information is accurate. |