Adding a Customer to WebTitan Cloud
Follow the steps below to add a customer to WebTitan Cloud.
Log into your TitanHQ Portal.
Click Manage in the WebTitan Cloud panel:
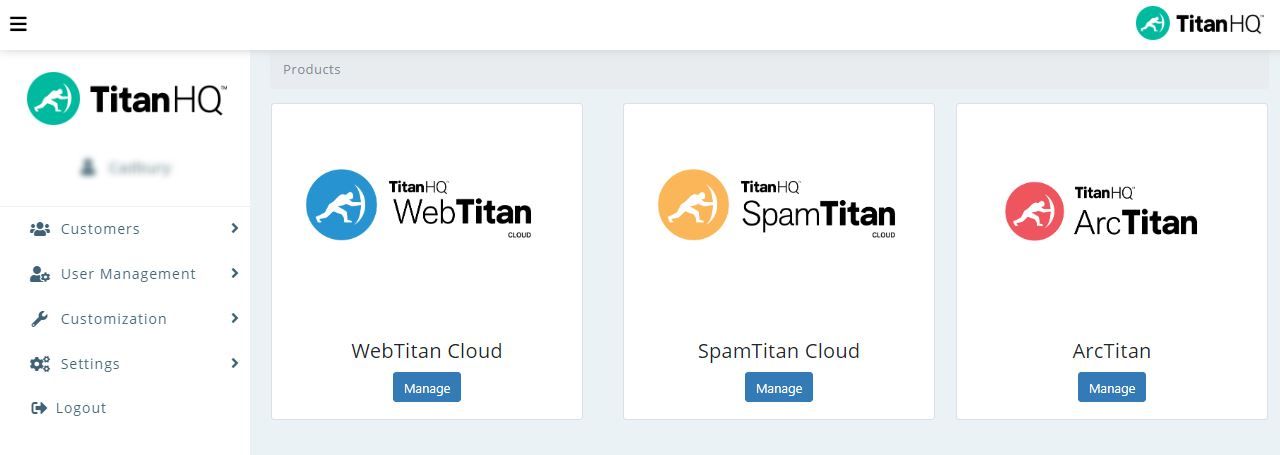
The WebTitan Cloud Customers table displays listing any customers you have already added. Click Add... to add a new customer.
Using the Customer Account Settings table below as a reference, complete the fields in the Add WebTitan Cloud Customer window.
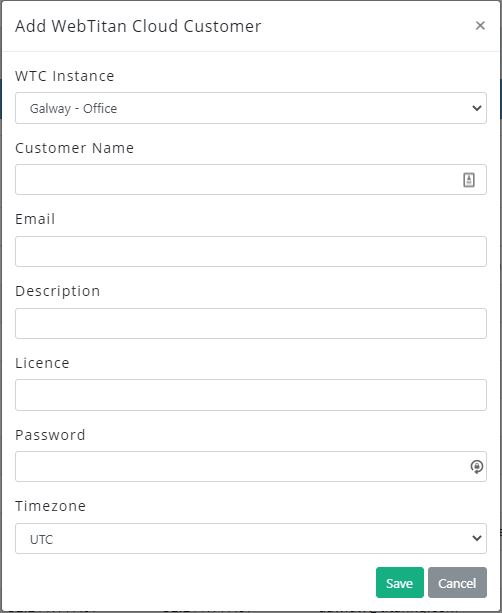
Click Submit to create the customer account or Close to close the window and discard changes.
WTC Customer Account Settings
Field | Description |
|---|---|
WTC Instance | WTC: Shared is the default. If you have multiple instances, they will be listed here. |
Customer Name | Name of your customer account, e.g. Example Coffee Company. |
The email address associated with this account, e.g. admin@example.com. This is the email address a customer admin uses to log into their TitanHQ Portal. | |
Description | A brief description of the account. This is a useful field for filtering and searching. This field is visible to the customer. |
License | The number of licenses required for this customer. |
Password | This is the password a customer admin uses to log into their TitanHQ Portal. Passwords must be a minimum of 8 characters long and contain at least one uppercase and one special character. |
Timezone | The time zone associated with this customer account. The correct time timezone ensures that dashboard, history and reporting information is accurate. |