Adding a Custom Customer Policy
Policies determine what categories of website a customer has access to. Each customer is assigned a default policy when their account is created and you can also create custom customer policies. Follow the steps below to create a custom customer policy.
Impersonate the customer you are adding a custom policy for. See Impersonating a Customer.
The customer page displays for that customer. Scroll to the Policy panel, located below the Locations panel:
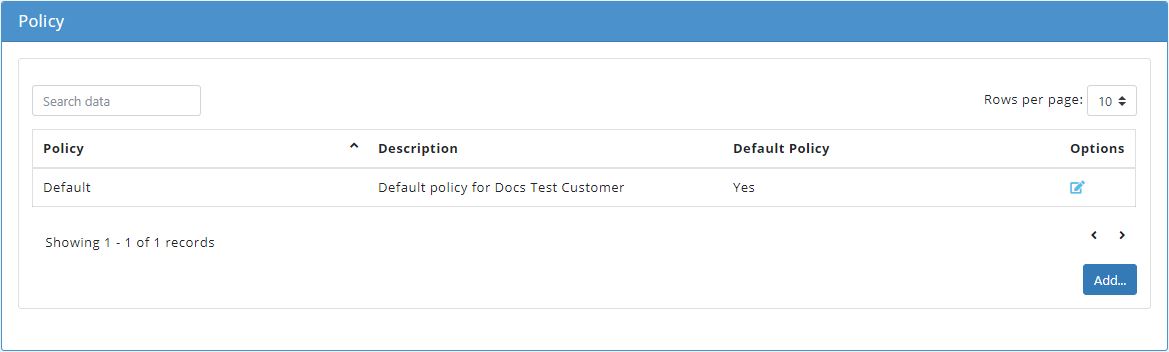
Click Add... and the Add Policy window displays:
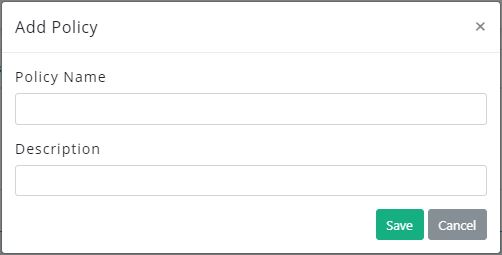
In the Policy Name field assign a name to this policy, e.g. Docs Policy.
Add a brief description of this policy in the Description field, e.g. Docs Example Custom Policy.
Click Save to save this policy or Cancel to discard.
Click the edit
 icon in the Options column to the right of the custom policy you just created and the Edit Policy window displays above the Policy window:
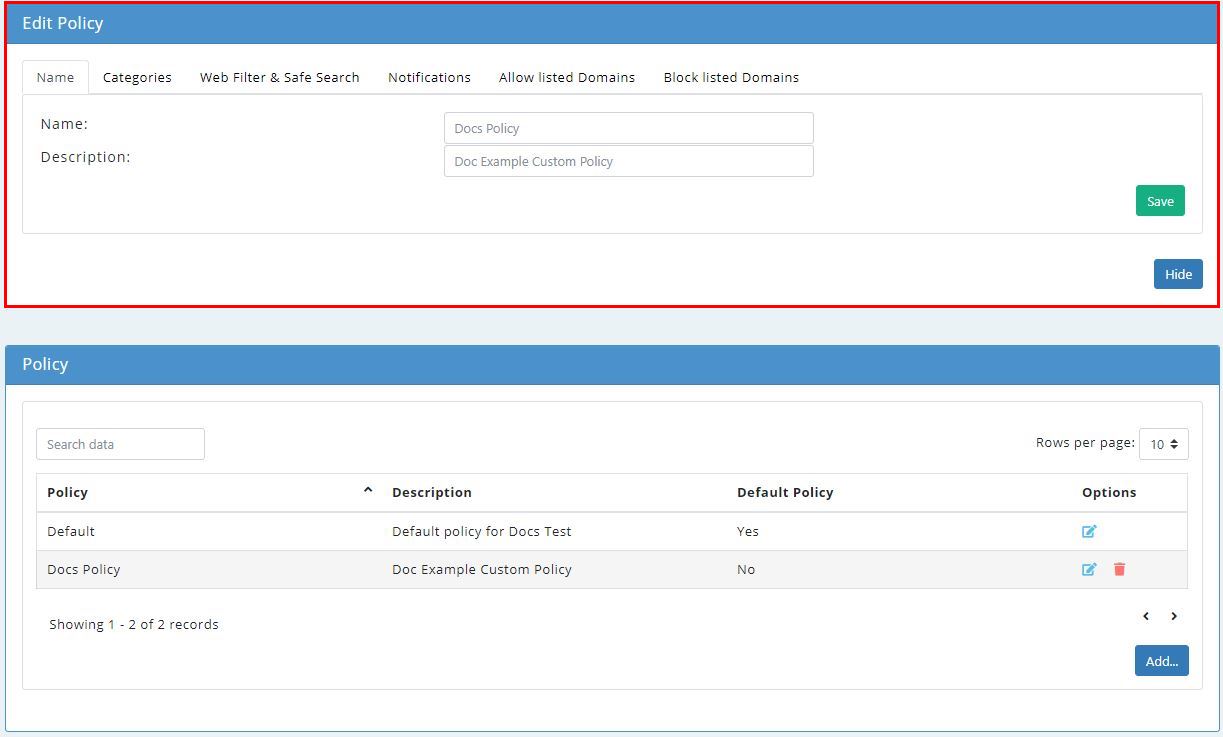
Click on each of the available tabs to make changes to your policy - Categories, Web Filter & Safe Search, Notifications, Allowed Domains and Blocked Domains.
Click the links below for more information on what can be configured in each tab:
When you finish editing, click Done to save changes to your customer's custom policy and close the Edit Policy panel.