Downloading and Installing Dynamic IP Agent
Important
To complete installation, you need a customer's primary WebTitan Cloud IP. This was sent to you by email when your customer was added to the TitanHQ Portal.
Click on the following link to download the Dynamic IP Agent install file. The agent must be installed on a server or PC on your network, however, it should not be installed on the same machine as WebTitan OTG agent.
Follow the steps below to install the Windows Dynamic IP Agent:
Double click on the install file to launch the installer. The WebTitan Cloud Locator Setup Wizard window displays - click Next.
The Configuration window displays:
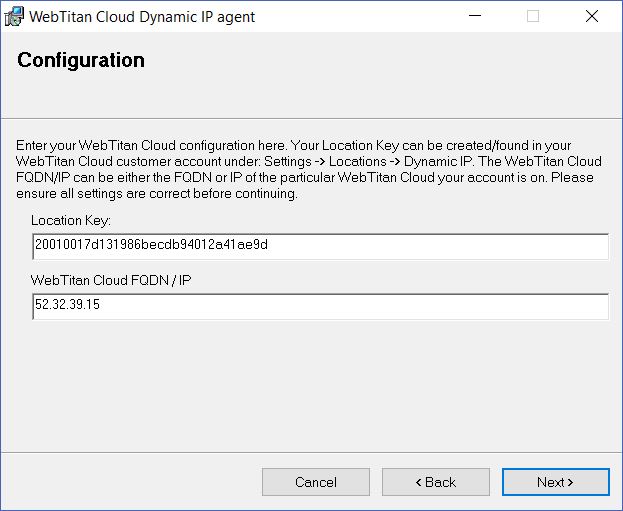
Complete the fields in the window above using the following information:
Location Key: If you have not already done so, follow these steps in your TitanHQ Portal to generate a Location Key for your customer:
Impersonate the customer you are adding a location for. See Impersonating a Customer.
The customer page displays for that customer, showing the Locations panel at the top of the screen. Click the Dynamic IP tab and the following panel displays:
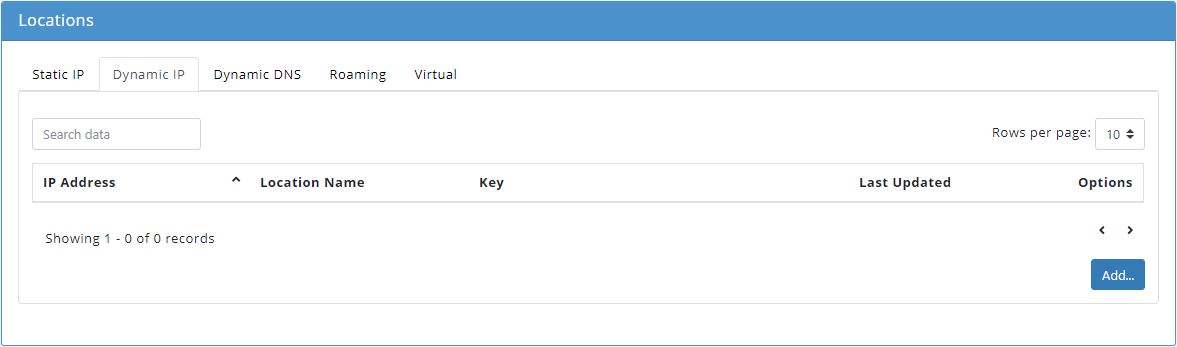
Click Add....
In the IP Address field, enter your current IP address.
In the Location field, assign a name for this location, e.g. Main Office.
Click Submit to save this location.
A location key is generated and displayed in the Key column. Use this key to configure the Dynamic IP Agent during installation:

WebTitan Cloud FQDN / IP: enter the primary IP of your customer's WebTitan Cloud, e.g. 52.32.39.15. This information was sent to you by email when you added your customer to the TitanHQ Portal.
Click Next and the WTC Network Checks window displays. It is recommended to leave these checks enabled as shown, as they catch any issues with communications with WebTitan Cloud and the local network:

Click Next and the Select Installation Folder window displays. To install in the default folder click Next or to install in a different folder click Browse. Click Next to continue.
The Confirm Installation window displays. Click Next to start the installation:
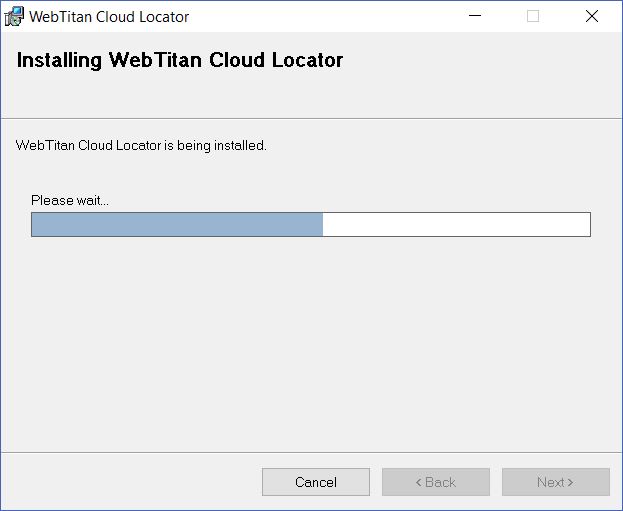
Once complete, the Installation Complete window displays. Click Close to exit the installation wizard.
Follow the steps in Testing Dynamic IP Agent.