Managing User Allow Lists
Spam checking is not performed on domains or email addresses that are added to the user allow list, they are automatically forwarded to the recipient. Follow the steps below to manage user allow list entries.
Impersonate your customer. See Impersonating a Customer.
The customer AntiSpam Engine page displays for that customer. Scroll to the User Policy Management panel, located below the Domain Management panel.
Click the edit
 icon in the Options column for the user you want to edit and scroll down to the User Allow/Block List Management panel.
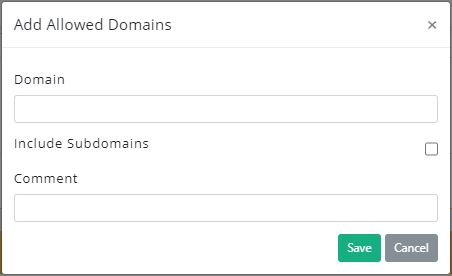
To add an allowed domain, click the Allowed Domains tab and click Add....

Enter the Domain in the form of example.com.
Check Include Subdomains for subdomains to also be allowed.
Enter any optional comments in the Comments field.
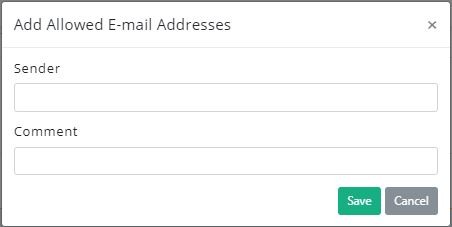
To add an allowed email address, click the Allowed E-mail Addresses tab and click Add....

Enter the Sender Email: in the form of user@example.com.
Enter any optional comments in the Comments field.
Click Save to save the entry or Cancel to discard.
To edit an allow list entry, click the edit  icon in the Options column.
To delete an allow list entry, click the delete  icon in the Options column.