Adding a Dynamic IP Location
Important
For WebTitan Cloud to continue identifying your location as your dynamic IP address changes, you must install the WebTitan Dynamic IP Agent. When this agent is downloaded and installed (with the generated location key) on at least one computer in your network, it will automatically update WebTitan Cloud as your IP changes. Click Agents in the sidebar menu for more information.
Follow these steps to add a dynamic IP location:
Impersonate the customer you are adding a dynamic IP location for. See Impersonating a Customer.
The customer page displays for the customer, showing the Locations panel at the top of the screen. Click the Dynamic IP table and the following panel displays:
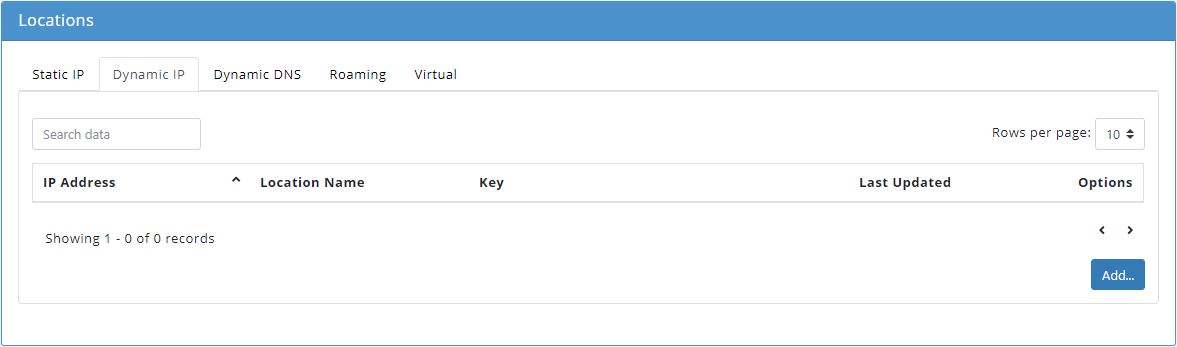
Click Add... and the Add Dynamic IP Location window displays.
In the IP Address field, enter your current IP address.
In the Location field, assign a name for this location, e.g. Main Office.
From the Policy dropdown menu, select a policy to assign to this location.
Click Save to save this location or Cancel to discard the entry.
A location key is generated and displayed in the Key column. Use this key to configure the Dynamic IP Agent during installation:
Click Agents in the sidebar menu to access the WebTitan Dynamic IP Agent Install Guide.