Installing the Outlook Add-In Locally
Before you install the Outlook Add-In, make sure that you have access to the new UI for ArcTitan.
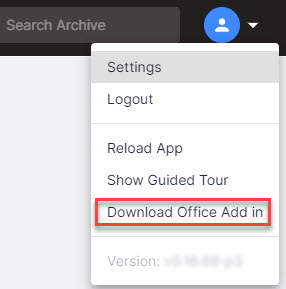
Log in to the new UI ArcTitan UI with the credentials provided to you and then select your Profile icon in the top right corner of the UI. From the dropdown menu, select Download Office Add-In.
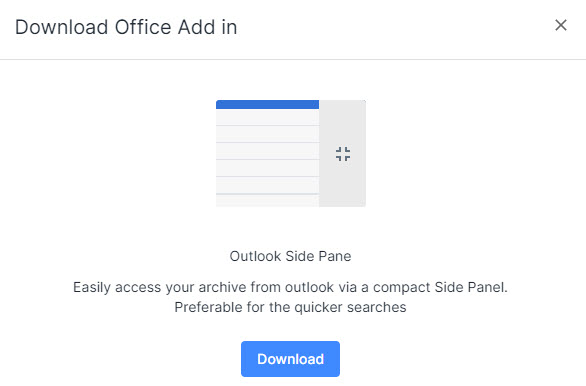
In the pop-up window that appears, select Download.
Open Outlook and select Get Add-ins the Ribbon Bar.

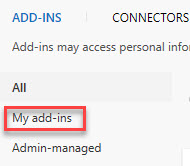
In the next window, select My Add-Ins from the left side of the page.
Next, select Add a custom add-in, and select Add from file.

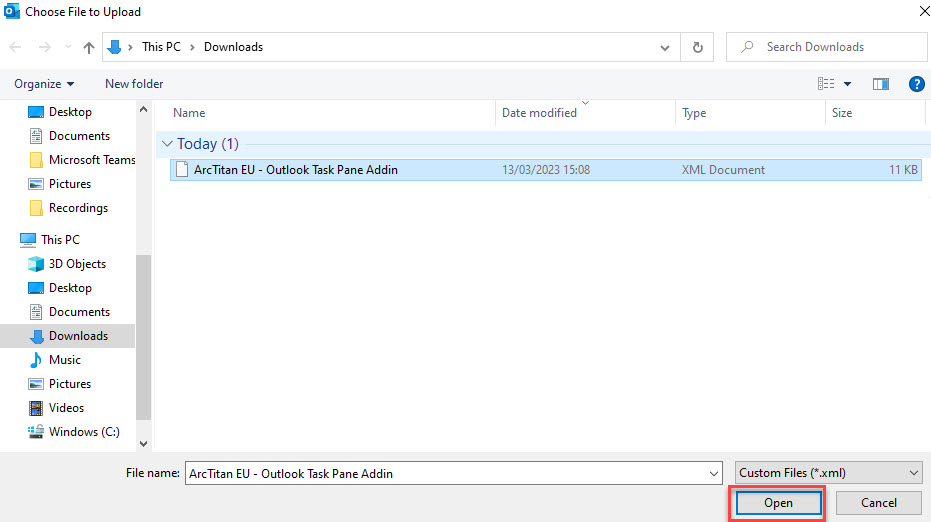
Find the XML file that you downloaded earlier and select Open to upload it.
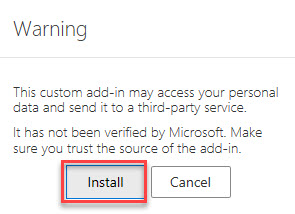
Select Install in the notification window from Microsoft.
The Add-In is now included in your Outlook Ribbon bar, which is visible when an email is selected. You can access it by clicking on it.