Set Up Google OAuth for ArcTitan SSO
Google OAuth allows each Google Workspace user to log in and access their ArcTitan archived mail. ArcTitan adds an OpenID Connect type OAuth connection to help enable this.
To finish setting up OAuth Client ID, log in to ArcTitan as an administrator.
Select Advanced Configuration > SSO – OAuth on the left, and then select Create New Connection.
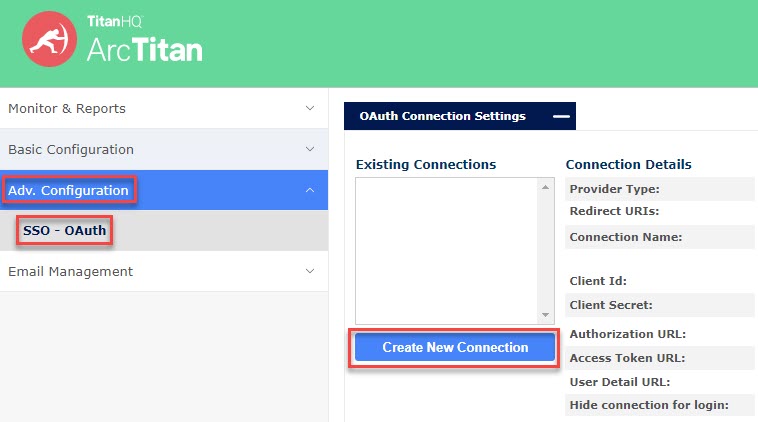
From the Provider Type dropdown menu in the Connection Details section, select OpenId Connect:

Enter a Connection Name that is meaningful, as it will be used on the login page on a new button with the words Login using <connection name>.
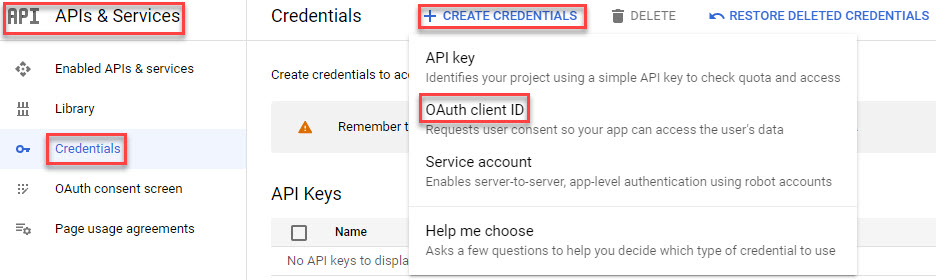
Return to the Google APIs & Services, and select Credentials > +Create Credentials > OAuth Client ID.
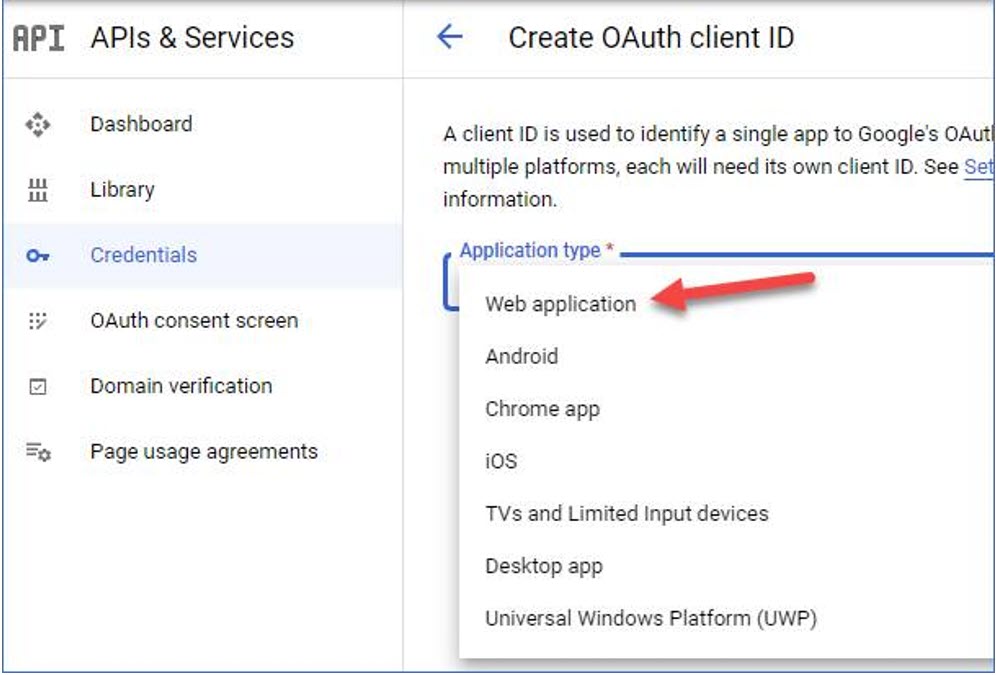
On the Create OAuth client ID panel, select Web application in the Application type field:
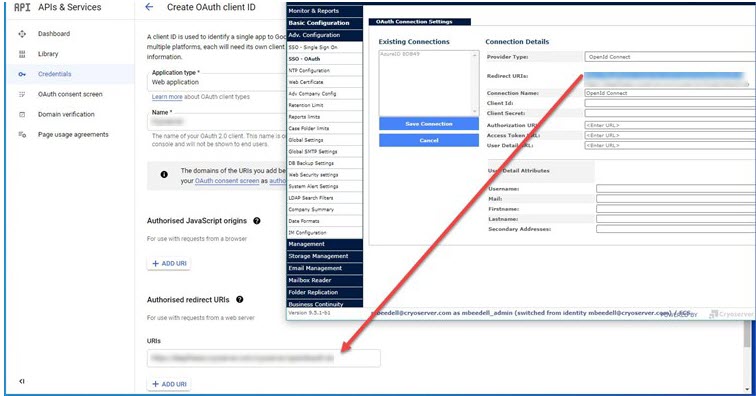
Enter a name for your OAuth client.
In the Redirect URI field, enter the redirect URIs as displayed by the ArcTitan SSO OAuth panel.
Note
For ArcTitan, only use the first Redirect URI; the second URI is not applicable.
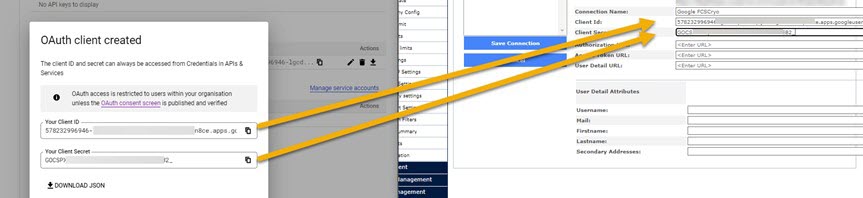
Select Create. A Client ID and secret value are generated as follows:
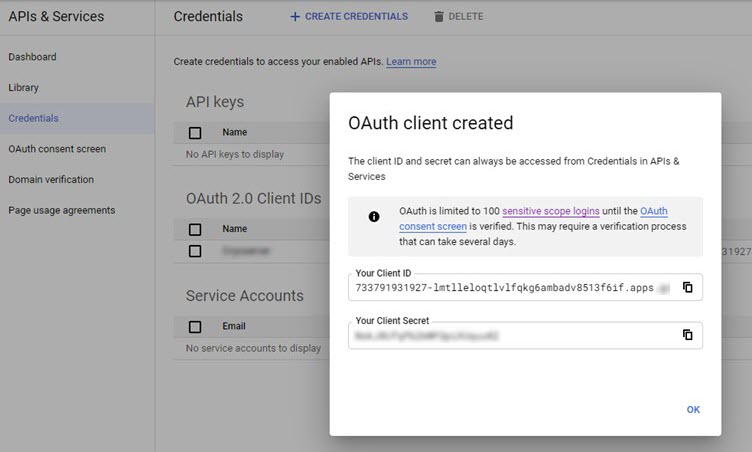
Copy and paste these values to the Client Id and Client secret fields in your ArcTitan UI.
Enter the following details in the remaining fields in your ArcTitan UI:
Authorization URL: https://accounts.google.com/o/oauth2/auth
Access Token URL: https://oauth2.googleapis.com/token
User Detail URL: https://www.googleapis.com/oauth2/v3/userinfo
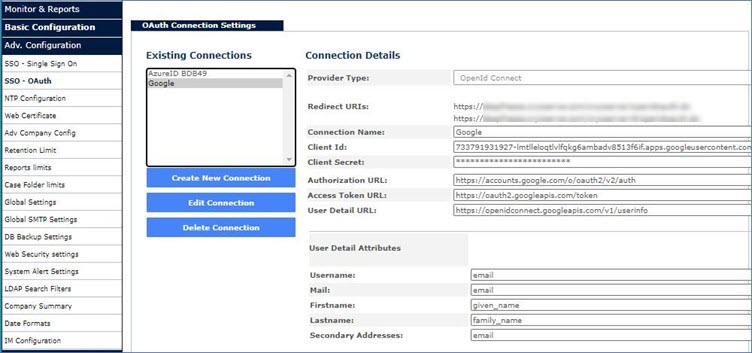
Next, enter your details in the User Detail Attributes section.
An example of the completed screen is shown below:
Go to the ArcTitan Login page where you can see an additional login button with the words Login With <OAuth connection name>. An example of this is shown below, where the connection name is Google:
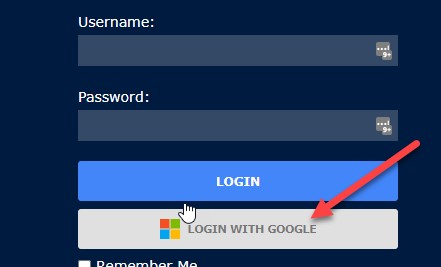
Select the new Login link to open the Google Authentication service, which displays the Consent Screen details and logo that you provided earlier.
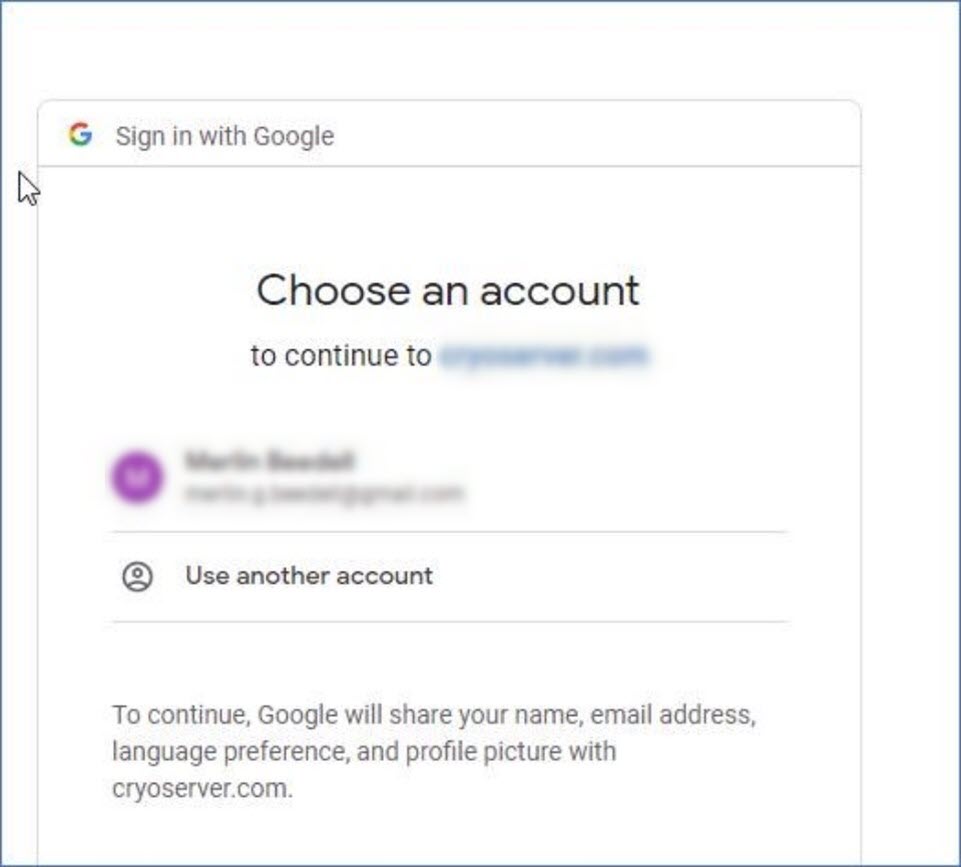
Note
Note that when logging in for the first time to ArcTitan in this way, the UI may display a message notifying you that access from host account.google.com is barred. This is because the login process redirects the user’s browser, which results in the user appearing to be connecting via another service.

To fix this, contact your ArcTitan administrator, who will add the host displayed in the message to ArcTitan as an Allowed Referrer Host. To do this, the ArcTitan administrator accesses Adv. Configuration > Web Security settings to add accounts.google.com, as shown in the example below:
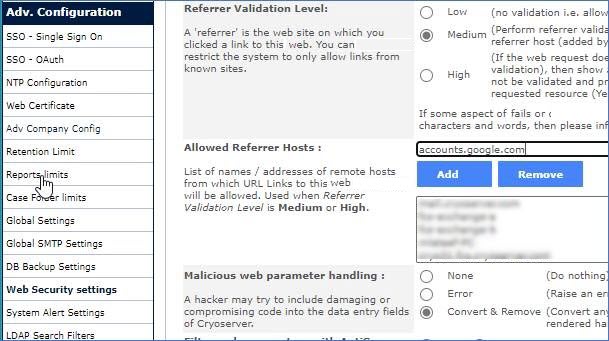
Next, you'll need to link the OAuth Client ID to your Workspace.